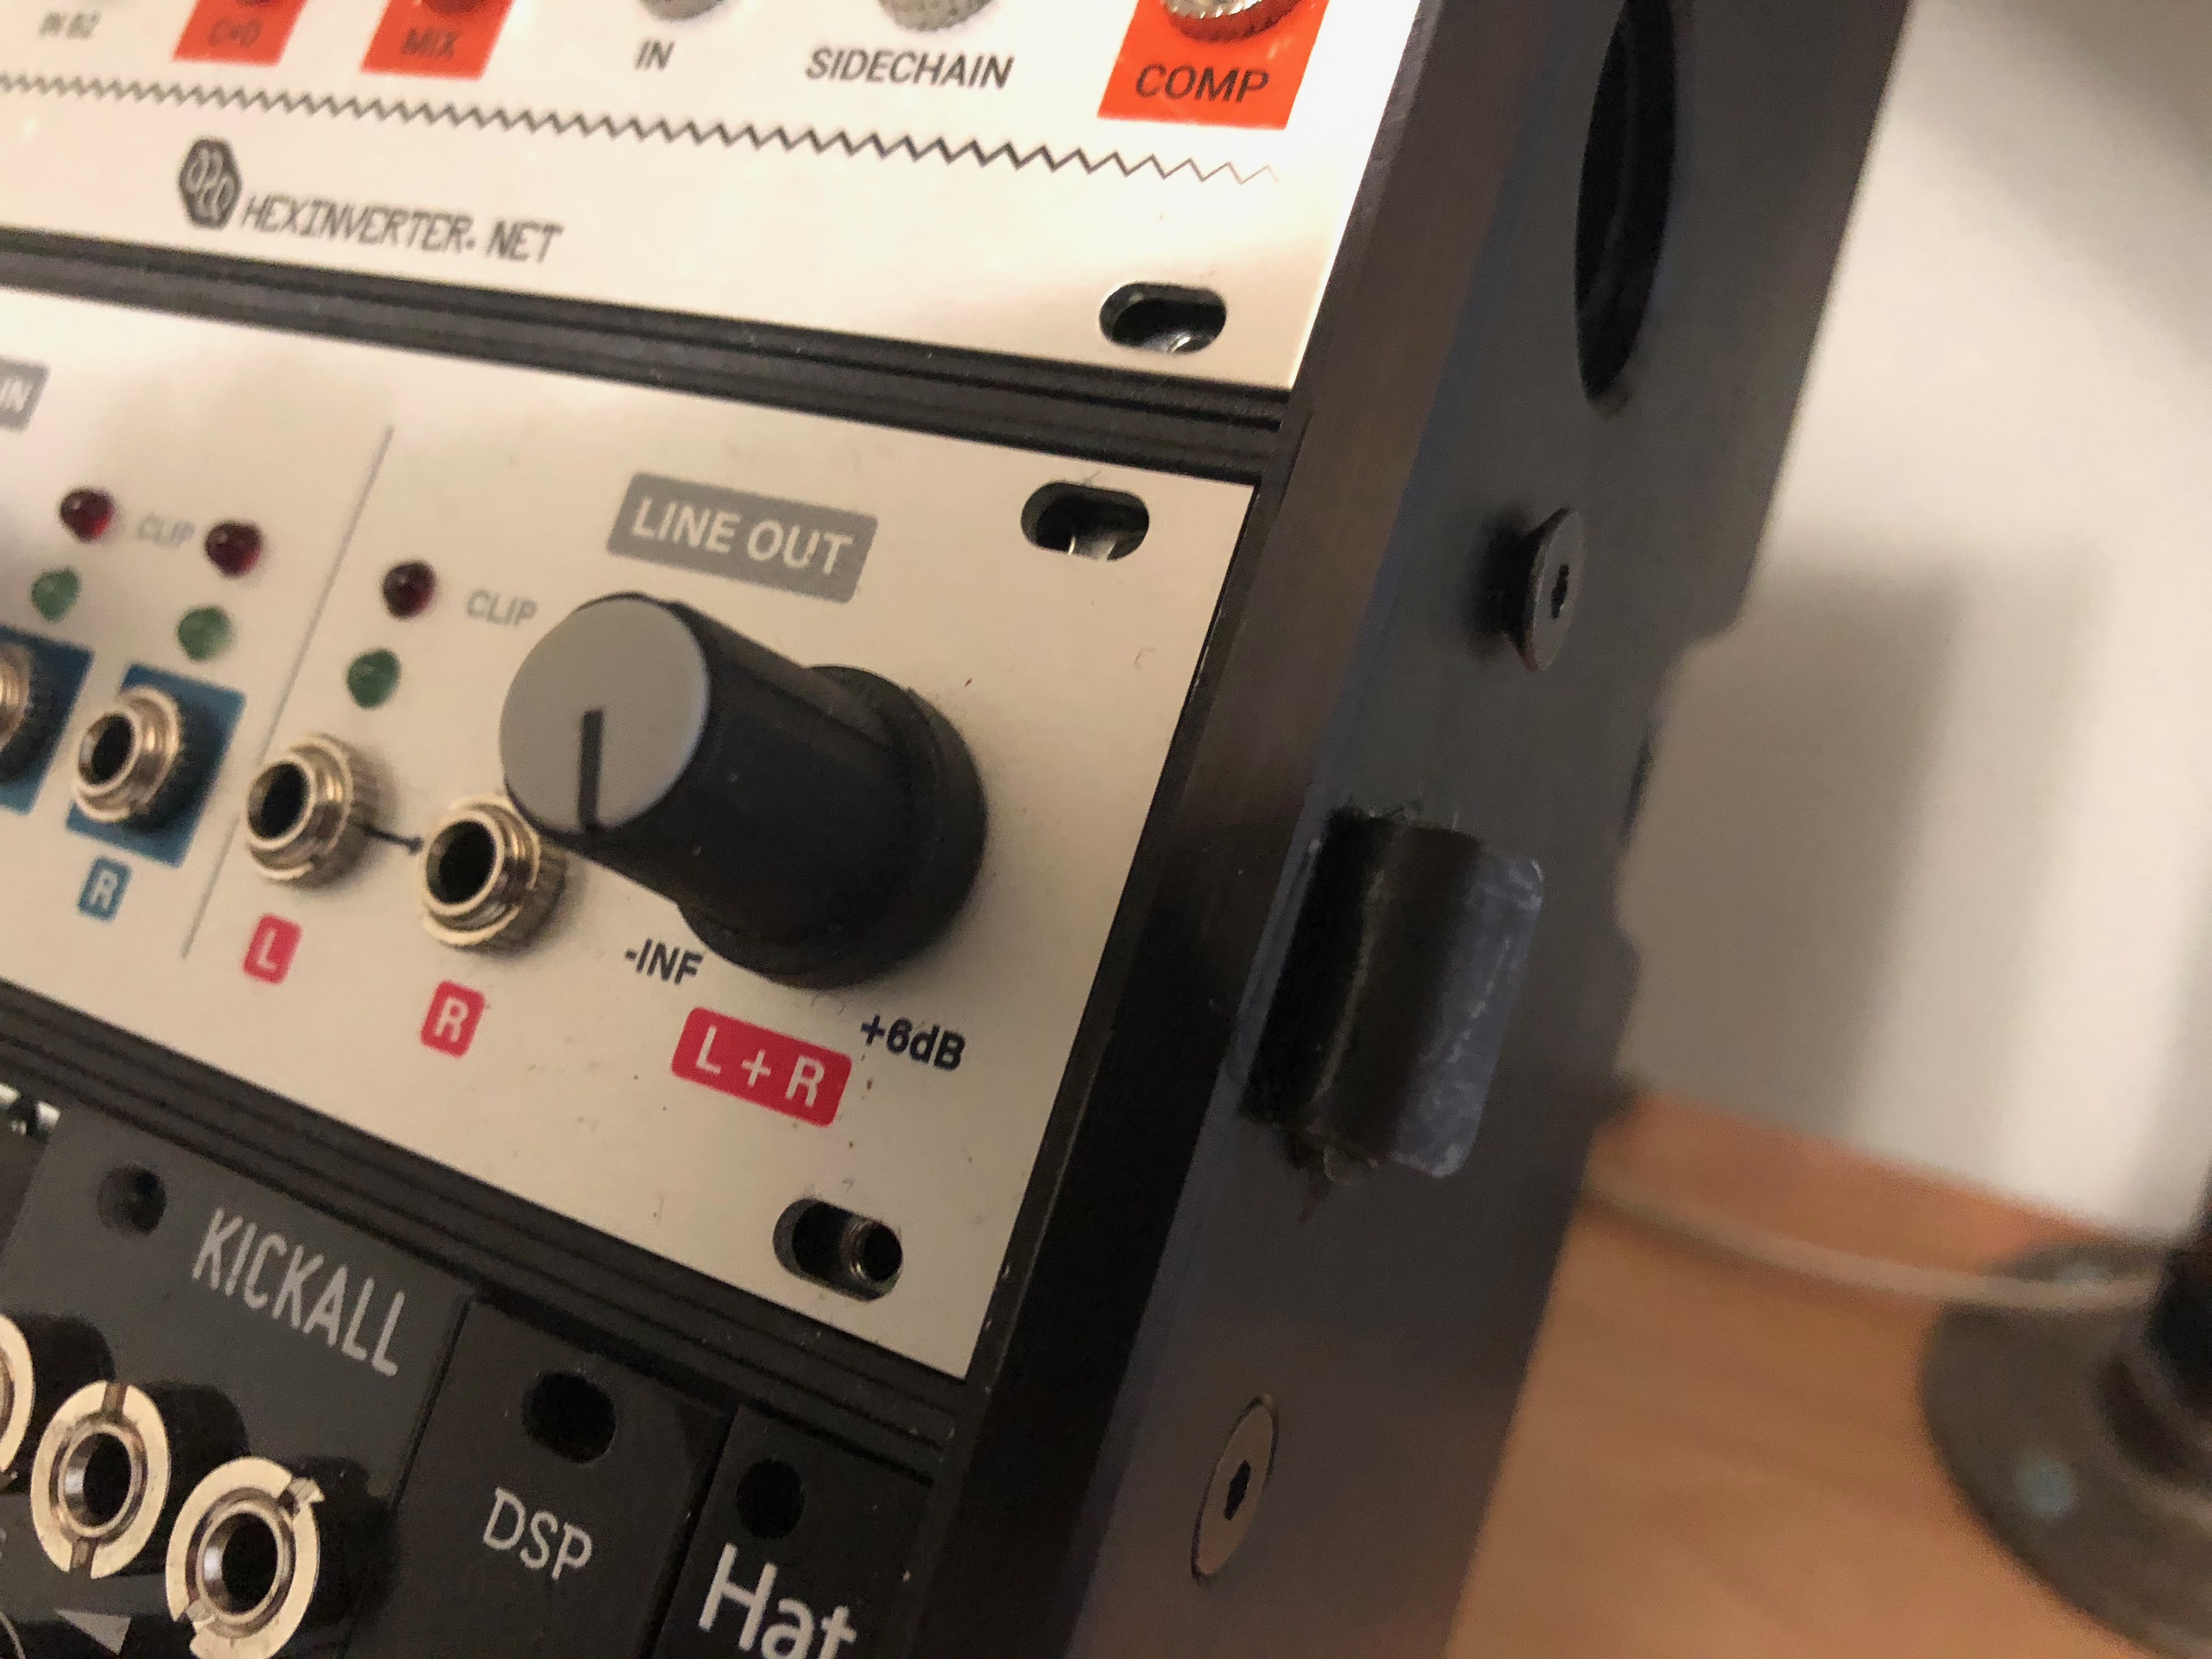
how do you then connect the audio and midi jacks if there are modules in the way? Don’t they require a 1U tile in order to have any use? This was what I thought was what had to happen, since there is no real way to internally normal signals effectively—you could want them to go to any of the modules, which would be a pain
the audio and midi jacks are connected with a 10 pin cable to the corresponding 1u modules so there is no issue except for the physical space that the jacks take limiting your 3u module depth at those points. and you probably need a longer 10pin cable since the 1u now farther away
Damase, Which modules have you successfully installed in your top row that fit above the upper jack connections?
my promodular miiiix fits above the audio jacks, its 3 or 4pcbs deep maybe 40mm. my asys rs-95n or mungo d0 do not fit above them so i have to keep toward the middle. my other stuff is mostly 30mm or less its an easy fit
1 Like
Thanks. I’ll have to put aside some time for a module-measuring session because having the 1U in the middle makes so much sense for keeping the top 3u less obscured and more playable.
2 Likes
I wouldn’t call myself a master DIY’er, but it took me 15 minutes to mod both my 7U cases. It was super simple, just be precise with your measurements. I’ll probably replace the machine screw with something more appropriate but it’s tight and doesn’t bother me much.

8 Likes
How do you properly drill a whole in the aluminum?
I hear stories of rough holes/edges and sliding drills when doing it wrong.
As I mentioned I’m no expert so someone else might have a better way. I measured, measured again, and measured again to be sure. Once I had my spot, I used an awl to make a dent. Was super careful to get the dent in the right spot. Then I used a very small bit to drill a pilot hole, then a bigger bit to make the final hole. Shards of aluminum were made in the process, wear some eye protection.
2 Likes
What kind of drills did you use? What surface did you put the aluminum sides on and how did you fixate them?
I used a standard Milwaukee hand drill and regular drill bits, nothing special. Aluminum is soft so it drills quite easily. I did not remove the sides to do this, I simply turned the case on it’s side resting on my rug and drilled downward.
I should probably say again that I am not an expert in this area  There is probably a better way to do this but I was successful twice using this hack.
2 Likes
I would use a wood backer so it doesn’t punch through and damage anything!
There is a bit called a center drill that has a small tip and then a 60 degree angle which will make a starting place for a regular drill bit so that it can not wander when starting your hole.
Small center drills (1/4") are perfect for following a center punch mark in Aluminum.
Foghorn
a machinist (for 50 years)
4 Likes
This is pretty easy to do. Use a pencil or marker and a 5/32” drill bit and M4 round head screws. It took me 5 hours to remove everything, move the 1u row, install the modules and repatch. Worth it. Intellijel, if you add a hole and extra screw to the case, users could do this when they first buy the case. Should be easy to change manufacturing and add two holes. Having utility at the top of the case creates too much cable clutter.
5 Likes
Extra screws wouldn’t even be necessary, as you could just move the screws with the rail. It would leave a hole on each side, but covering the hole with a screw would get in the way of whatever modules are at the ends, unless it was extra-short and only used to cover the hole.
One potential problem is that the ports reduce the available depth of a large portion of the top 3U row. It probably isn’t a big deal, unless you own a lot of Doepfer modules or something.
Having the case come with the extra two holes would mean they’d be nicely countersunk too.
1 Like
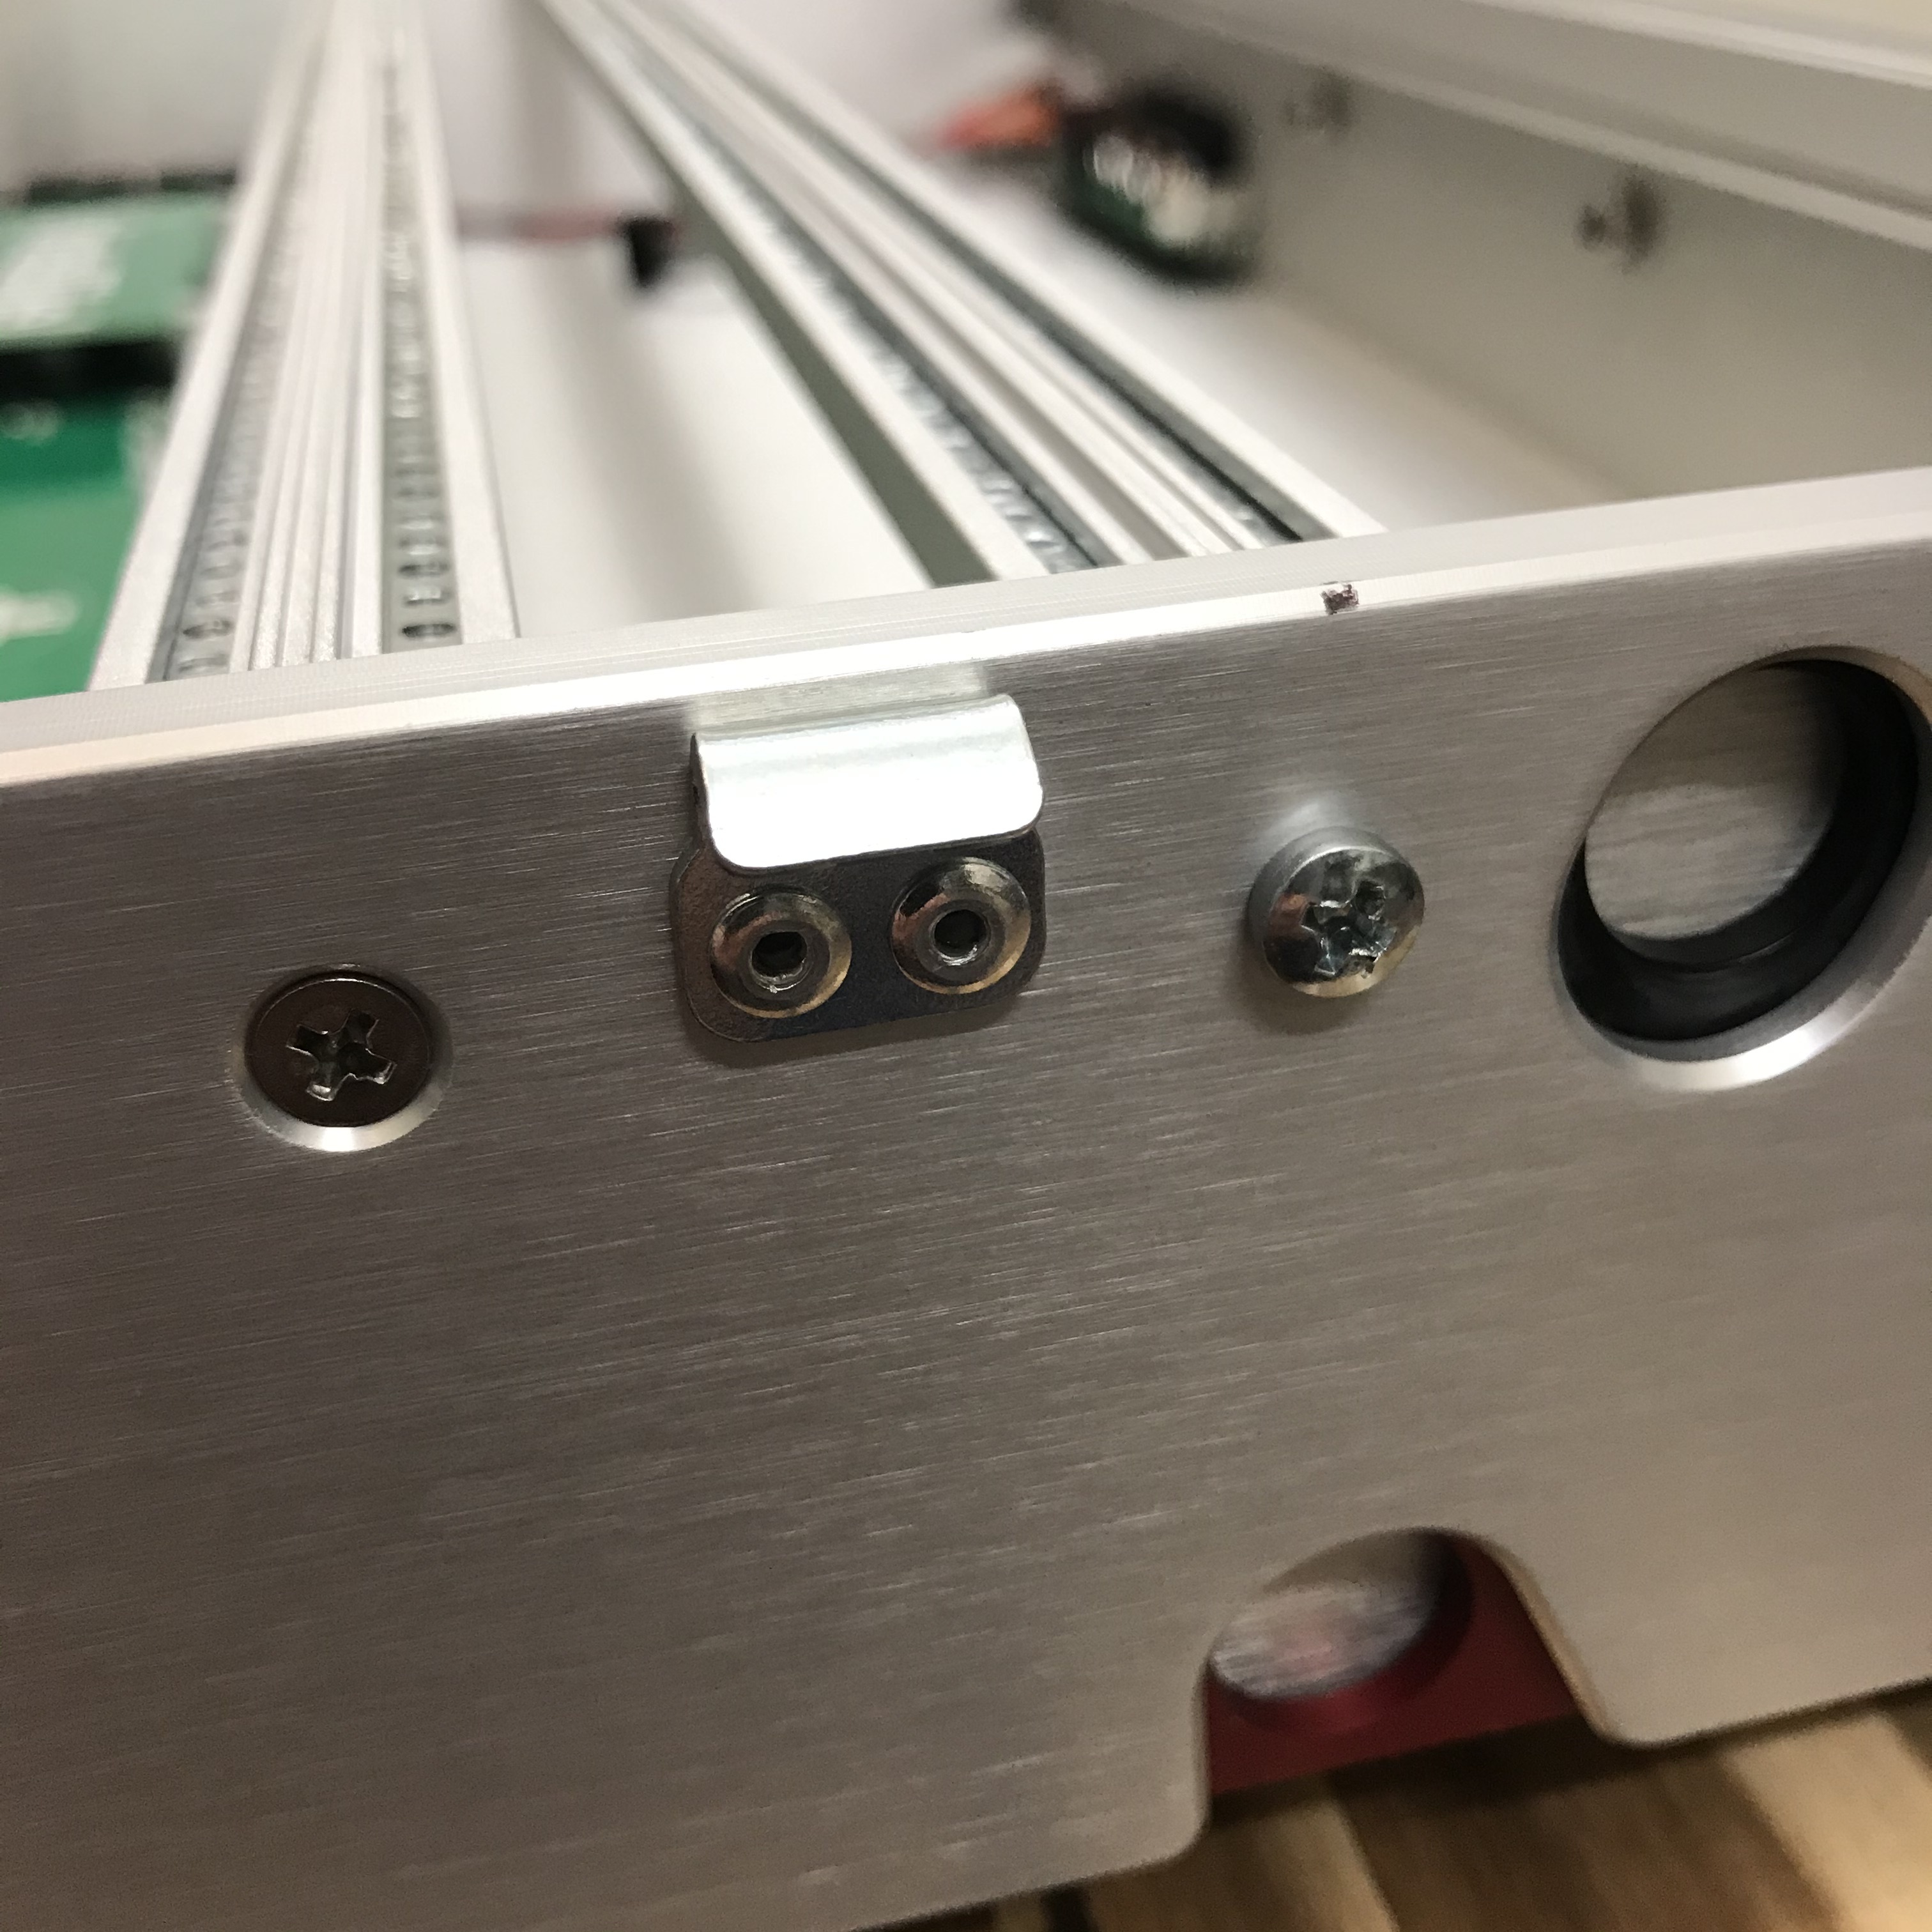
I was considering doing this mod on one of my 7u cases, but I’m a little unclear on how y’all are dealing with the bottom rail of the top 3u row… from the pics, it seems like you aren’t drilling a hole for it (because it would seem to go where the latch trigger is for the stand leg). Is that rail just kinda floating? how does that work?
The rails are joined into a single piece. If you take one of them out you’ll see right away. One screw on each side of the case holds the pair of rails in place. Makes the process that much easier!
2 Likes
thanks for the info! 
@davidjames ok sadly that is not actually the case with mine. i guess they changed the design after the initial version. looking at the photos on their website, it’s different. I have a screw for each rail on mine and in the current version i can see how there is one screw for the pair 
I haven’t seen that version so I can’t say for sure if drilling two holes would work. If not, maybe you could source a newer rail assembly and use that instead? It’s early and I haven’t had my coffee yet so hopefully that makes sense